react实战系列起步(mockjs、第一个模块、docusaurus)
其他章节请看:
起步
本篇我们首先引入 mockjs ,然后进入 spug 系统,接着模仿”任务计划“模块实现一个类似的一级导航页面(”My任务计划“),最后玩一下 Facebook 的docusaurus,将 spug 官网文档在本地跑起来。
Tip:环境准备请看上文
mockjs
点击登录,提示“请求异常: Network Error”。因为没有后端提供接口。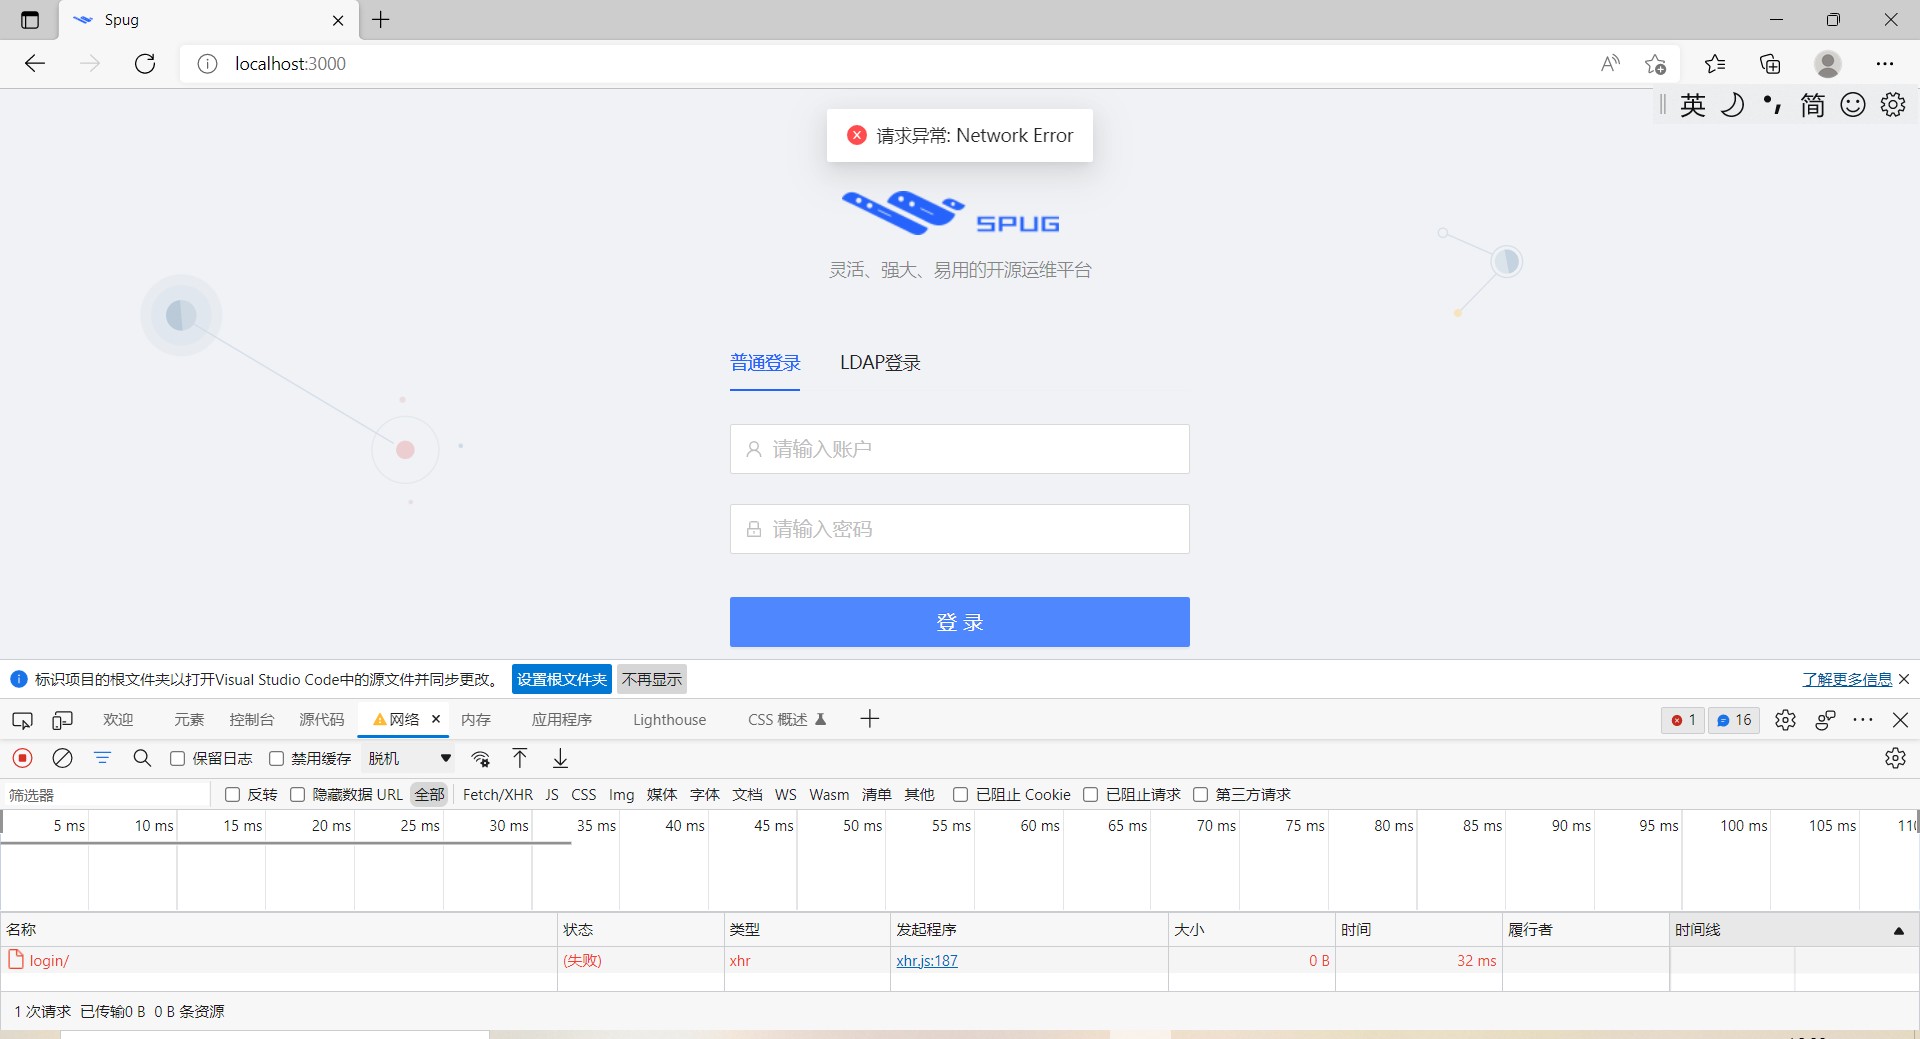
笔者使用mockjs 来绕过,进入系统。
添加 mockjs 只需要三步。
首先安装依赖:
spug-study> npm i -D mockjs@1 added 1 package, and audited 1789 packages in 54s 107 packages are looking for funding run `npm fund` for details 33 vulnerabilities (1 low, 16 moderate, 15 high, 1 critical) To address issues that do not require attention, run: npm audit fix To address all issues (including breaking changes), run: npm audit fix --force Run `npm audit` for details.然后新建src/mock/index.js,内容如下:
import Mock from 'mockjs' // 开发环境引入 mock if (process.env.NODE_ENV === 'development') { Mock.mock('/api/account/login/', 'post', { "data": { "id": 1, "access_token": "5bb076db06fd4001b85d12e44ab96c56", "nickname": "\u7ba1\u7406\u5458", "is_supper": true, "has_real_ip": true, "permissions": [] }, "error": "" }) }最后在src/index.js 中引入 mock:
+ import './mock'重启服务,再次点击点击“登录”,即可进入系统:
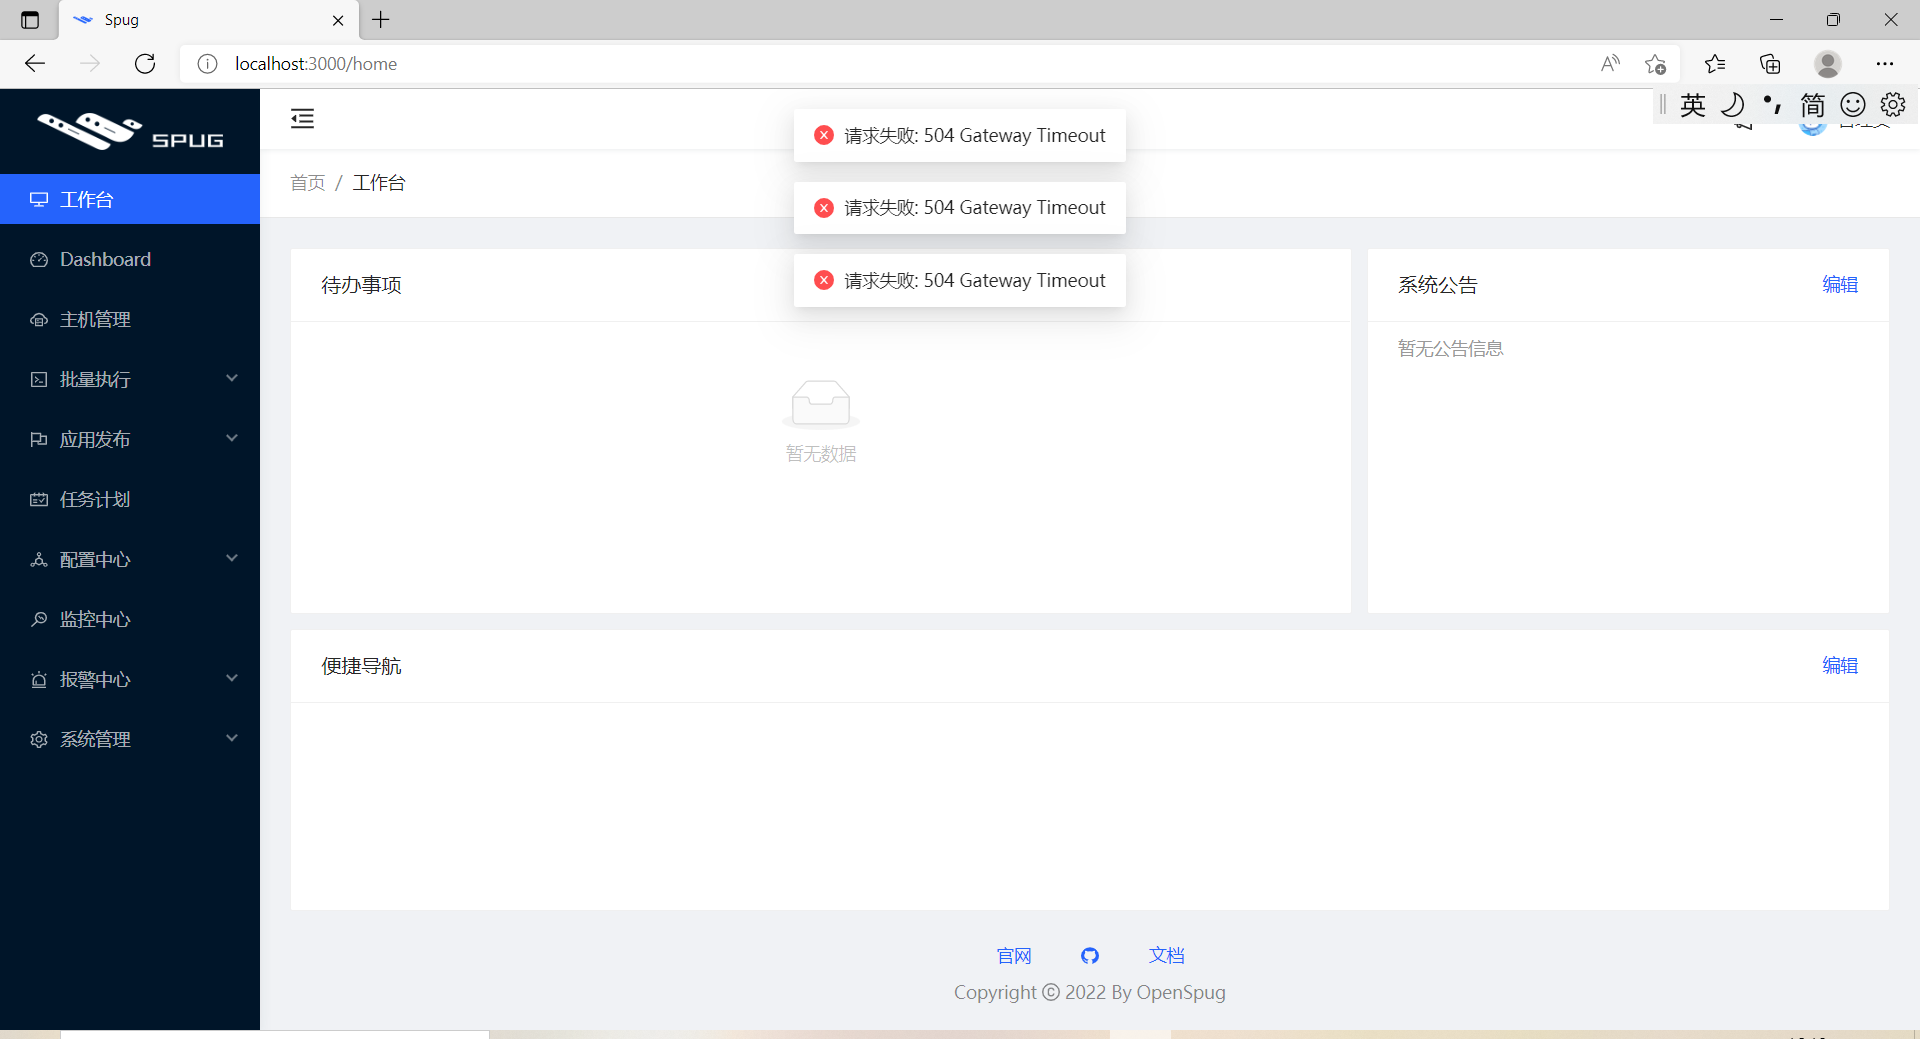
Tip:spug 提供了“演示预览”,只需要关注即可获取体验账号,上面的 mock 数据就是这么来的。
注:mockjs 这种使用方式,在浏览器开发界面是看不到 ajax 请求的。倘若想看到 ajax 请求,你可以把 mockjs 配合 node 的 express 使用,mockjs 仅仅当作造数据的工具,url 匹配就交由 express 处理。
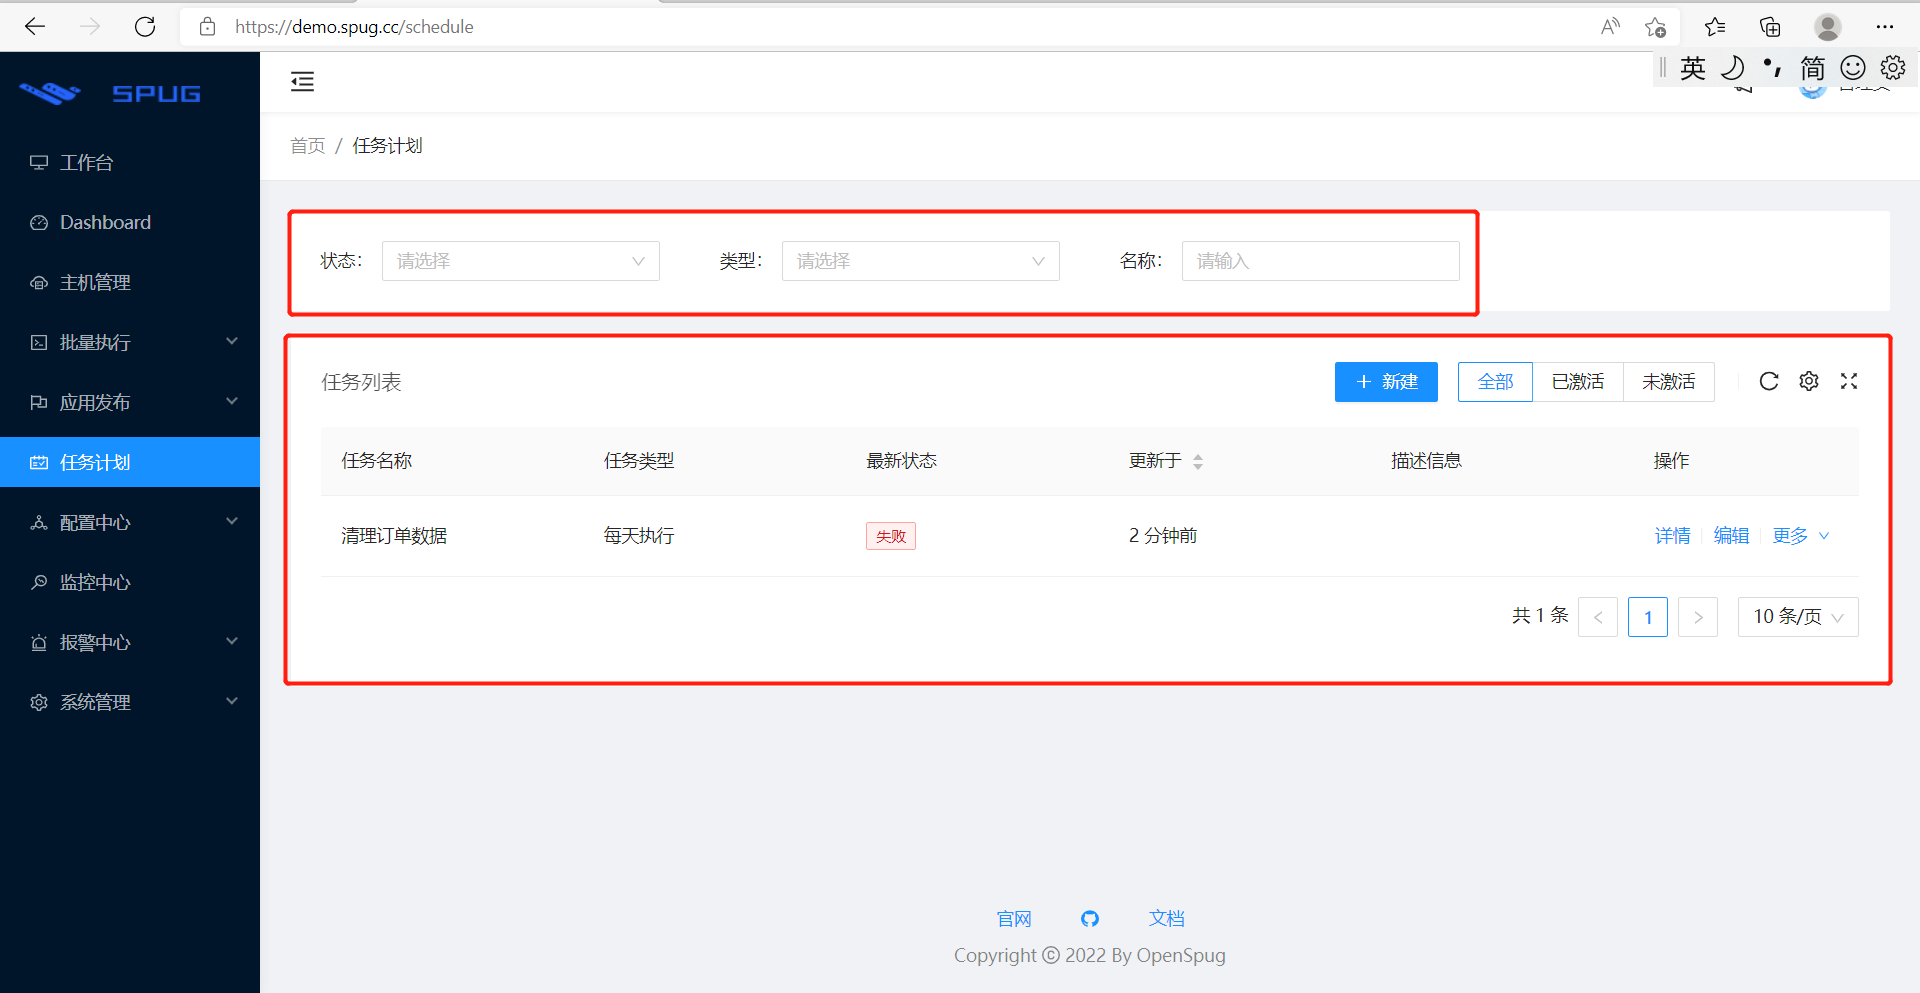
任务计划
”任务计划“页面分为两部分:上面用于过滤、下面是表格:
My任务计划
模仿”任务计划“,最终效果如下:
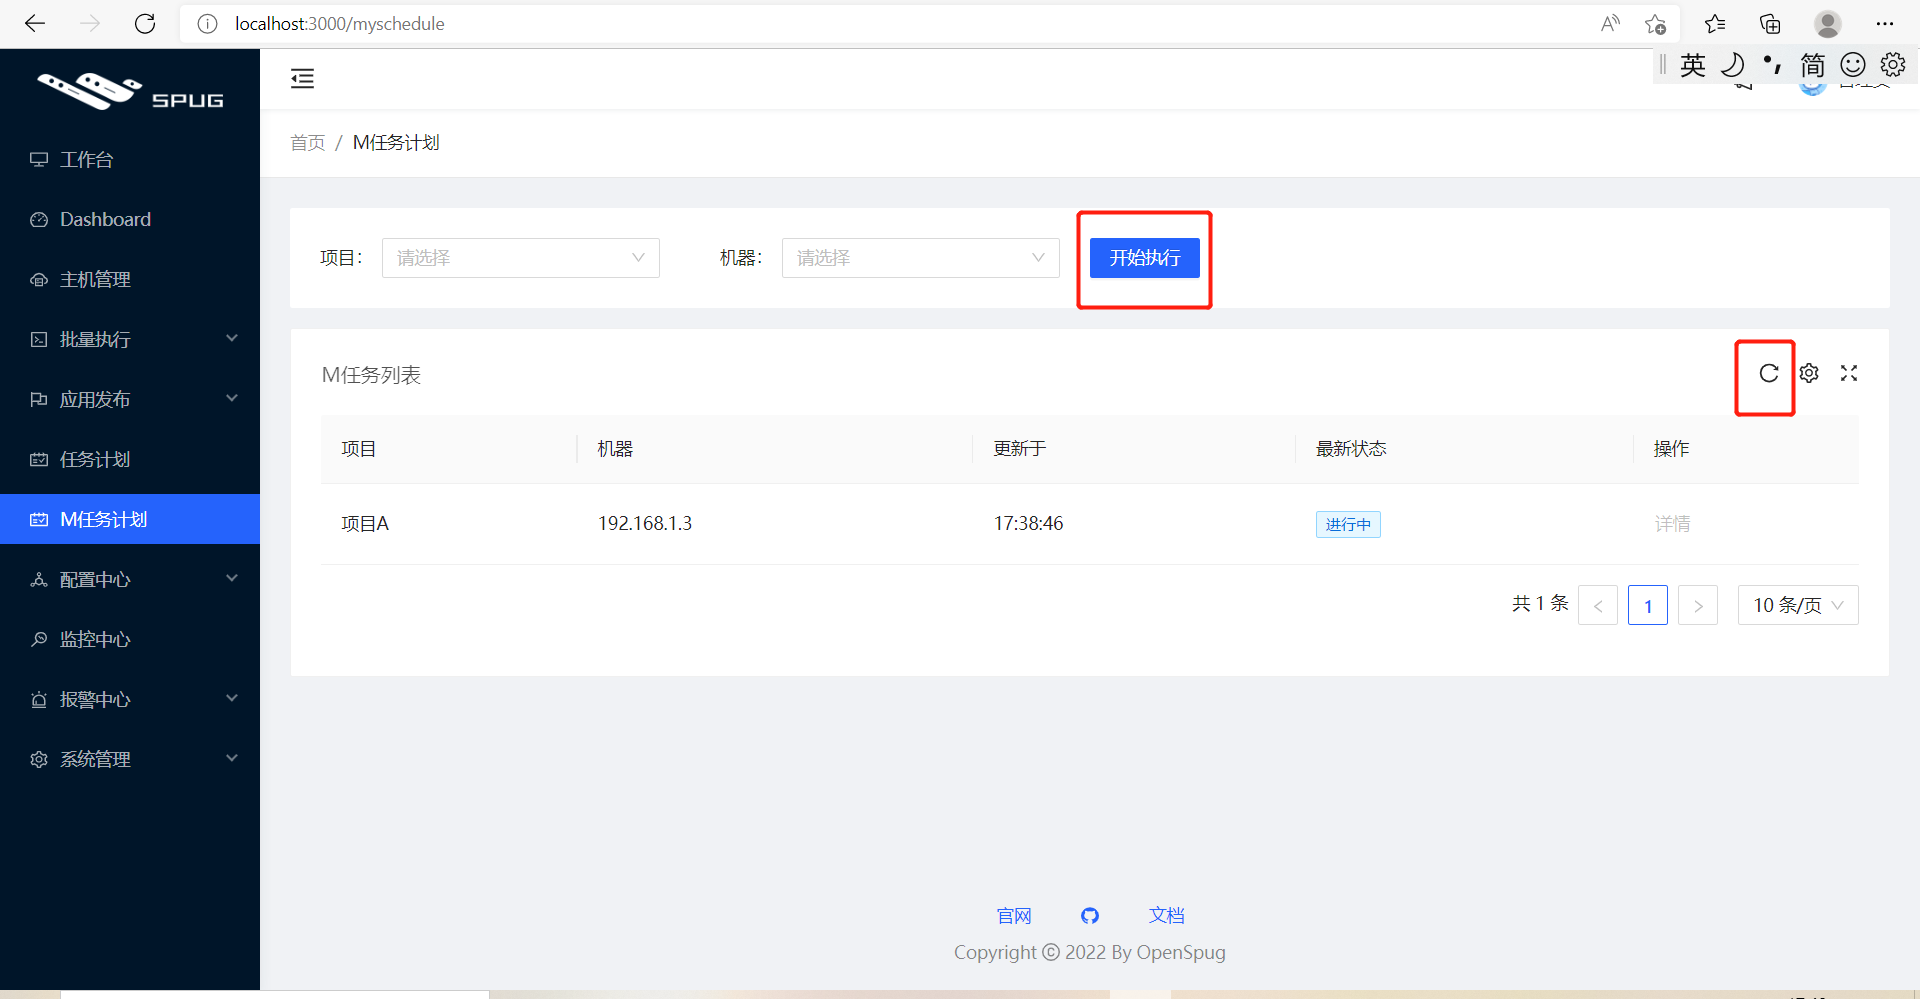
点击“开始执行”和刷新表格,“更新于“中的模拟时间都会变化。
代码如下:
新增导航”M任务计划“:
// src/routes.js import ScheduleIndex from './pages/schedule'; + import MyScheduleIndex from './pages/myschedule'; { icon: <ScheduleOutlined/>, title: '任务计划', auth: 'schedule.schedule.view', path: '/schedule', component: ScheduleIndex }, + { + icon: <ScheduleOutlined/>, + title: 'M任务计划', + auth: 'myschedule.myschedule.view', + path: '/myschedule', + component: MyScheduleIndex + },增加 mock 数据:
// src/mock/index.js // 开发环境引入 mock if (process.env.NODE_ENV === 'development') { Mock.mock('/api/schedule/', 'get', { "data": { "types": ["每天执行"], "tasks": [{ "id": 1, "name": "\u6e05\u7406\u8ba2\u5355\u6570\u636e", "type": "\u6bcf\u5929\u6267\u884c", "command": "echo '\u6e05\u7406\u8ba2\u5355\u6570\u636e'", "targets": ["local"], "trigger": "cron", "trigger_args": { "rule": "0 1 * * *", "start": null, "stop": null }, "is_active": true, "desc": null, "latest_id": null, "rst_notify": { "mode": "0" }, "created_at": "2021-04-28 12:07:56", "created_by_id": 1, "updated_at": "2021-04-28 12:19:16", "updated_by_id": 1, "latest_status": null, "latest_run_time": null, "latest_status_alias": null }] }, "error": "" }) Mock.mock('/api/myschedule/', 'get', () => ({ "data": [{ "id": 1, "name": "项目A", machine: '192.168.1.3', time: new Date().toLocaleTimeString(), status: '进行中'}], "error": "" })) // 点击“开始执行” Mock.mock(/\/api\/myschedule.*/, 'post', () => ({ data: { test: 'test' }, error: '' })) }增加 myschedule 路由组件。共 3 个文件,内容如下:
// src/pages/myschedule/index.js import React from 'react'; import { observer } from 'mobx-react'; import { Select, Button } from 'antd'; import { SearchForm, AuthDiv, Breadcrumb } from 'components'; import ComTable from './Table'; import store from './store'; export default observer(function () { return ( <AuthDiv auth="myschedule.myschedule.view"> <Breadcrumb> <Breadcrumb.Item>首页</Breadcrumb.Item> <Breadcrumb.Item>M任务计划</Breadcrumb.Item> </Breadcrumb> <SearchForm> <SearchForm.Item span={6} title="项目"> <Select allowClear value={store.name} onChange={v => store.name = v} placeholder="请选择"> <Select.Option value="p1">项目1</Select.Option> <Select.Option value="p2">项目2</Select.Option> <Select.Option value="p3">项目3</Select.Option> <Select.Option value='p4'>项目4</Select.Option> </Select> </SearchForm.Item> <SearchForm.Item span={6} title="机器"> <Select allowClear value={store.machine} onChange={v => store.machine = v} placeholder="请选择"> <Select.Option value='m1'>机器1</Select.Option> <Select.Option value='m2'>机器2</Select.Option> <Select.Option value='m3'>机器3</Select.Option> <Select.Option value='m4'>机器4</Select.Option> </Select> </SearchForm.Item> <Button type="primary" onClick={store.build}>开始执行</Button> </SearchForm> <ComTable /> </AuthDiv> ) })// src/pages/myschedule/store.js import { observable, computed } from 'mobx'; import http from 'libs/http'; class Store { // 表格数据 @observable records = []; // 是否正在请求数据 @observable isFetching = false; // 计算属性 // 数据源 @computed get dataSource() { return this.records } fetchRecords = () => { this.isFetching = true; http.get('/api/myschedule/') .then(res => this.records = res) .finally(() => this.isFetching = false) }; build = () => { const params = { name: this.name, machine: this.machine } console.log('params', params) http.post('/api/myschedule', {params}) .then(res => { this.fetchRecords() }) } } export default new Store()// src/pages/myschedule/Table.js import React from 'react'; import { observer } from 'mobx-react'; import { Tag } from 'antd'; import { Action, TableCard } from 'components'; import store from './store'; @observer class ComTable extends React.Component { componentDidMount() { store.fetchRecords() } colors = ['orange', 'green', 'red']; columns = [{ title: '项目', dataIndex: 'name', }, { title: '机器', dataIndex: 'machine', }, { title: '更新于', dataIndex: 'time', }, { title: '最新状态', render: info => { return <Tag color="blue">{info.status}</Tag> }, }, { title: '操作', width: 180, render: info => ( <Action> <Action.Button disabled>详情</Action.Button> </Action> ) }]; render() { return ( <TableCard // tKey 必须唯一? tKey="msi" rowKey="id" title="M任务列表" loading={store.isFetching} dataSource={store.dataSource} onReload={store.fetchRecords} pagination={{ showSizeChanger: true, showLessItems: true, showTotal: total => `共 ${total} 条`, pageSizeOptions: ['10', '20', '50', '100'] }} columns={this.columns} /> ) } } export default ComTabledocusaurus
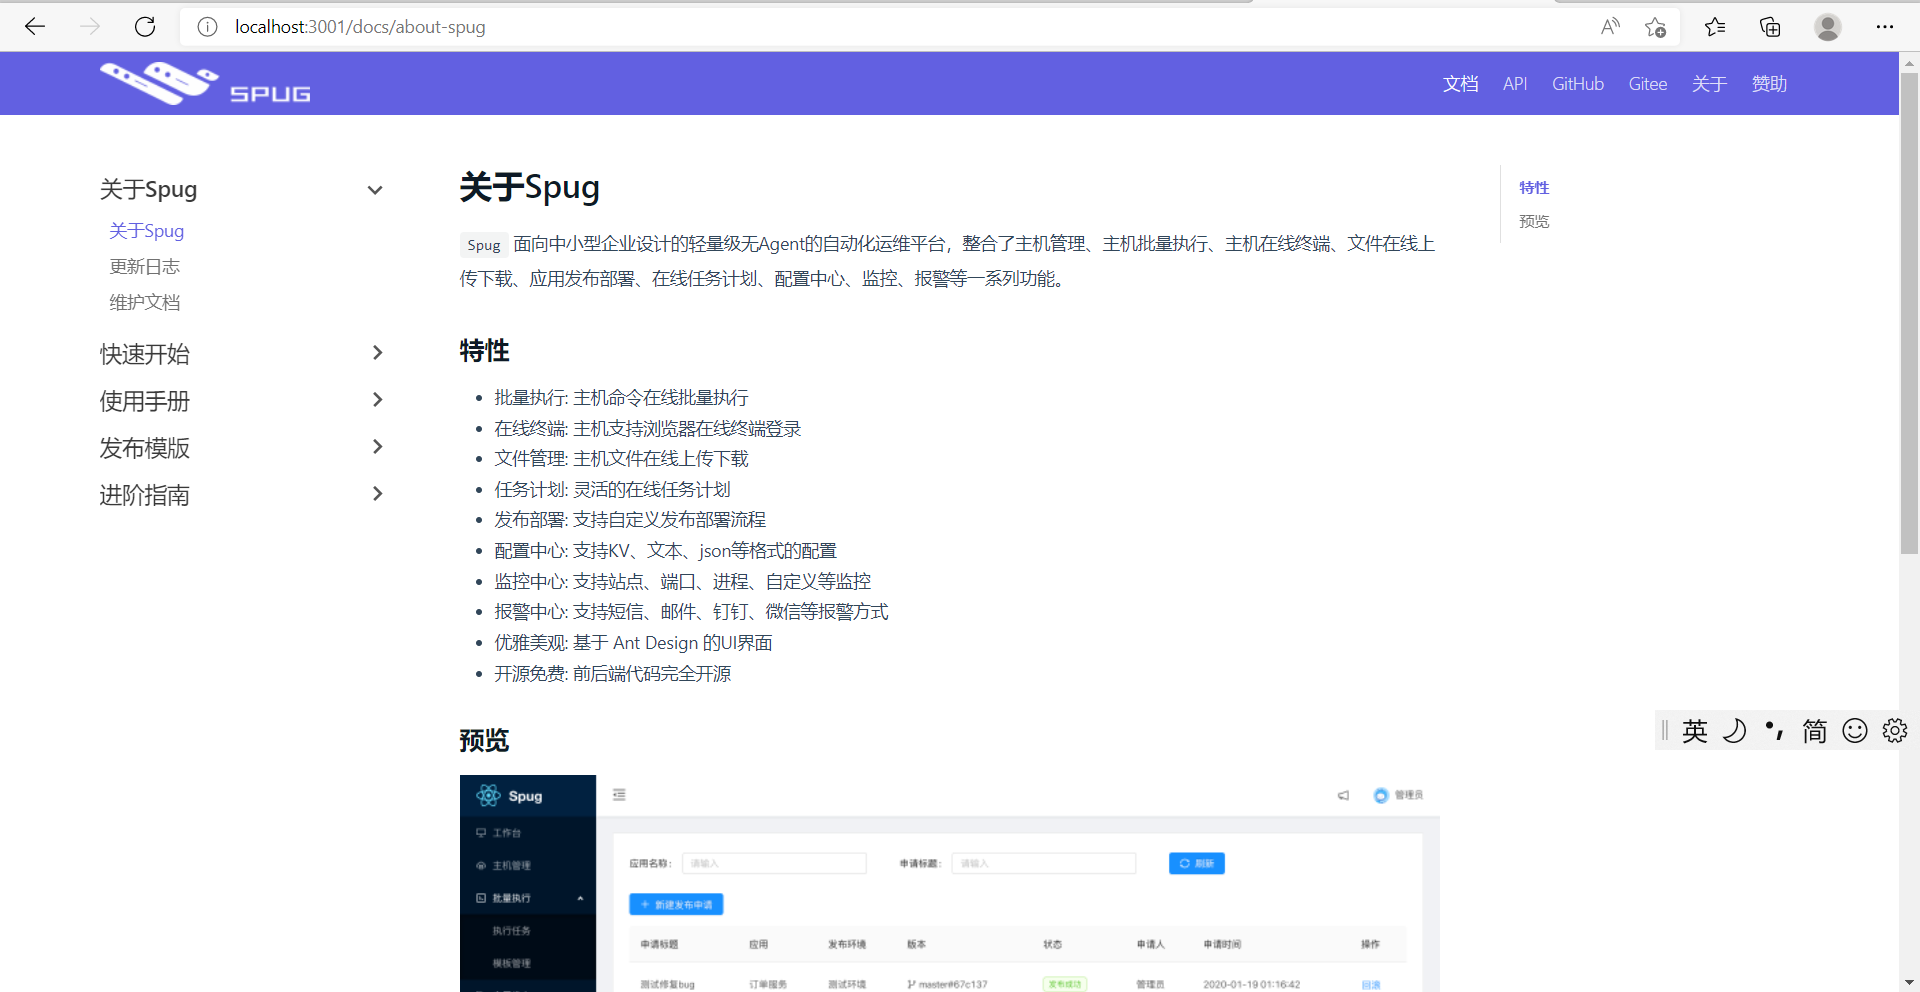
spug 的官网文档采用 Facebook 的docusaurus(快速 构建高效 的网站,专注处理内容) 来构建的。
我们可以将 spug 的文档在克隆到本地。步骤如下:
$ git clone https://github.com/JackieLieu/spug.dev.git spug-docs Cloning into 'spug-docs'... remote: Enumerating objects: 525, done. Receiving objects: 73% (384/5remote: Total 525 (delta 0), reused 0 (delta 0), pack-reused 525 Receiving objects: 100% (525/525), 458.97 KiB | 420.00 KiB/s, done. Resolving deltas: 100% (317/317), done.进入spug-docs/website,查看目录:
spug-docs/website (master) $ ll total 21 drwxr-xr-x 1 78614 197609 0 4月 17 17:58 blog/ drwxr-xr-x 1 78614 197609 0 4月 17 17:58 core/ -rw-r--r-- 1 78614 197609 390 4月 17 17:58 package.json drwxr-xr-x 1 78614 197609 0 4月 17 17:58 pages/ -rw-r--r-- 1 78614 197609 4258 4月 17 17:58 README.md -rw-r--r-- 1 78614 197609 1289 4月 17 17:58 sidebars.json -rw-r--r-- 1 78614 197609 3567 4月 17 17:58 siteConfig.js drwxr-xr-x 1 78614 197609 0 4月 17 17:58 static/安装依赖:
PS website> cnpm i √ Installed 1 packages √ Linked 845 latest versions [1/6] scripts.postinstall docusaurus@1.14.7 › imagemin-jpegtran@6.0.0 › jpegtran-bin@^4.0.0 run "node lib/install.js", root: "spug-docs\\website\\node_modules\\_jpegtran-bin@4.0.0@jpegtran-bin" √ jpegtran pre-build test passed successfully [1/6] scripts.postinstall docusaurus@1.14.7 › imagemin-jpegtran@6.0.0 › jpegtran-bin@^4.0.0 finished in 954ms [2/6] scripts.postinstall docusaurus@1.14.7 › imagemin-gifsicle@6.0.1 › gifsicle@^4.0.0 run "node lib/install.js", root: "spug-docs\\website\\node_modules\\_gifsicle@4.0.1@gifsicle" √ gifsicle pre-build test passed successfully [2/6] scripts.postinstall docusaurus@1.14.7 › imagemin-gifsicle@6.0.1 › gifsicle@^4.0.0 finished in 751ms ... [6/6] scripts.postinstall docusaurus@1.14.7 › tree-node-cli@1.5.2 › fast-folder-size@^1.6.1 run "node get-sysinternals-du.js", root: "spug-docs\\website\\node_modules\\_fast-folder-size@1.6.1@fast-folder-size" ... deprecate docusaurus@1.14.7 › markdown-toc@1.2.0 › remarkable@1.7.4 › autolinker@0.28.1 › gulp-header@^1.7.1 Removed event-stream from gulp-header √ All packages installed (973 packages installed from npm registry, used 59s(network 38s), speed 148.83kB/s, json 846(5.51MB), tarball 0B)启动项目:
PS spug-docs\website> npm run start > start > docusaurus-start Failed to start live reload server: RangeError: Maximum call stack size exceeded LiveReload server started on port 35729 Docusaurus server started on port 3001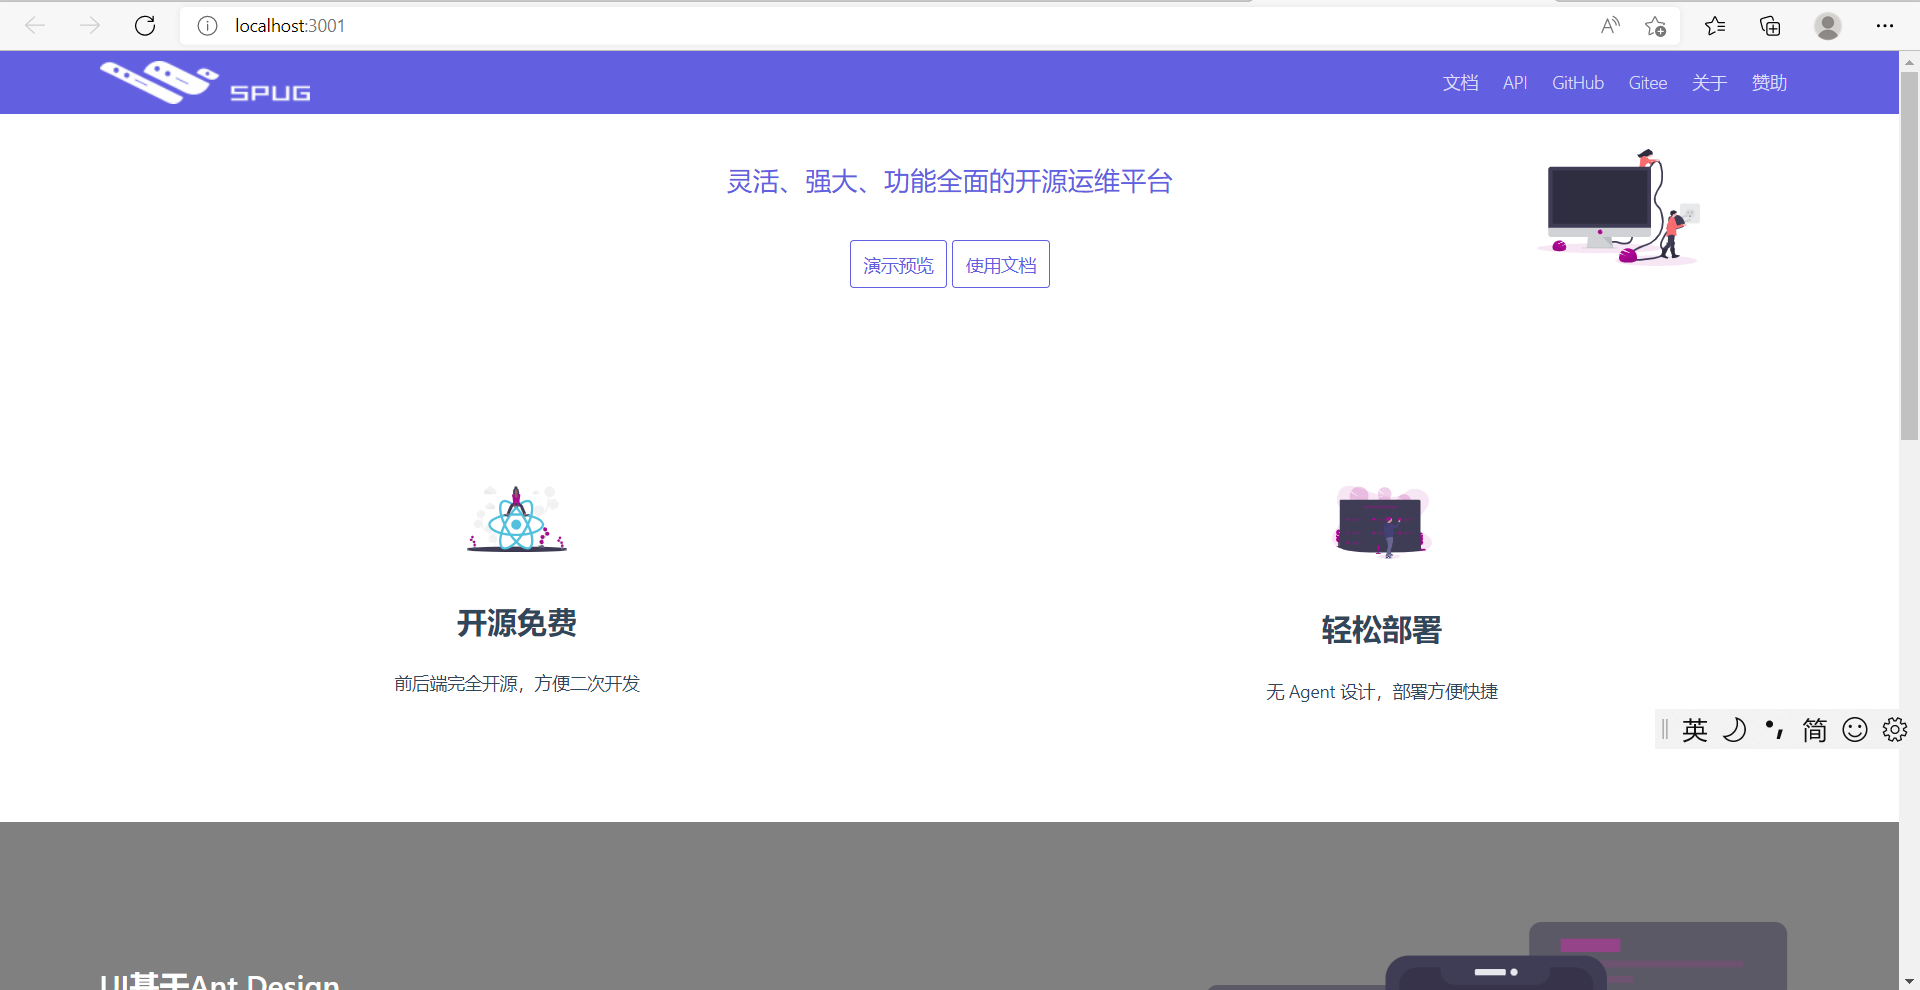
注:docusaurus 官网提到系统要求是node >= 14,笔者尝试用 node 14 编译 spug-docs,报各种错误,最后尝试 node 16,却成功了。
spug 与内网
倘若你要在内网中使用 spug,你可能会遇到如下问题:
cnpm 导致压缩失败
将node_modules 压缩拷贝,如果安装 spug 的依赖使用的是cnpm i,可能会压缩失败(笔者尝试使用了各种压缩工具),可以改用npm i。
win7
如果你的环境是 win7,那么 node 最多只能安装node 14 以下的版本,笔者使用v13.14。
而node 12 是不能对 spug 项目进行构建的。